Animated Shapes
Welcome back to Exploring FPGA Graphics. In the final part of our introductory graphics series, we’re looking at animation. We’ve already seen animation with hardware sprites, but double buffering gives us maximum creative freedom with fast, tear-free motion. We’ll be making extensive use of our designs from 2D Shapes, so have a look back at that post if you need a refresher on drawing shapes.
In this series, we learn about graphics at the hardware level and get a feel for the power of FPGAs. We’ll learn how screens work, play Pong, create starfields and sprites, paint Michelangelo’s David, draw lines and triangles, and animate characters and shapes. New to the series? Start with Beginning FPGA Graphics.

Series Outline
- Beginning FPGA Graphics - video signals and basic graphics
- Racing the Beam - simple demo effects with minimal logic
- FPGA Pong - recreate the classic arcade on an FPGA
- Display Signals - revisit display signals and meet colour palettes
- Hardware Sprites - fast, colourful graphics for games
- Framebuffers - bitmap graphics featuring Michelangelo’s David
- Lines and Triangles - drawing lines and triangles
- 2D Shapes - filled shapes and simple pictures
- Animated Shapes (this post) - animation and double-buffering
Requirements
You should be to run these designs on any recent FPGA board. I include everything you need for the iCEBreaker with 12-Bit DVI Pmod, Digilent Arty A7-35T with Pmod VGA, Digilent Nexys Video with on-board HDMI output, and Verilator Simulation with SDL. See requirements from Beginning FPGA Graphics for more details.
Blazing a Trail
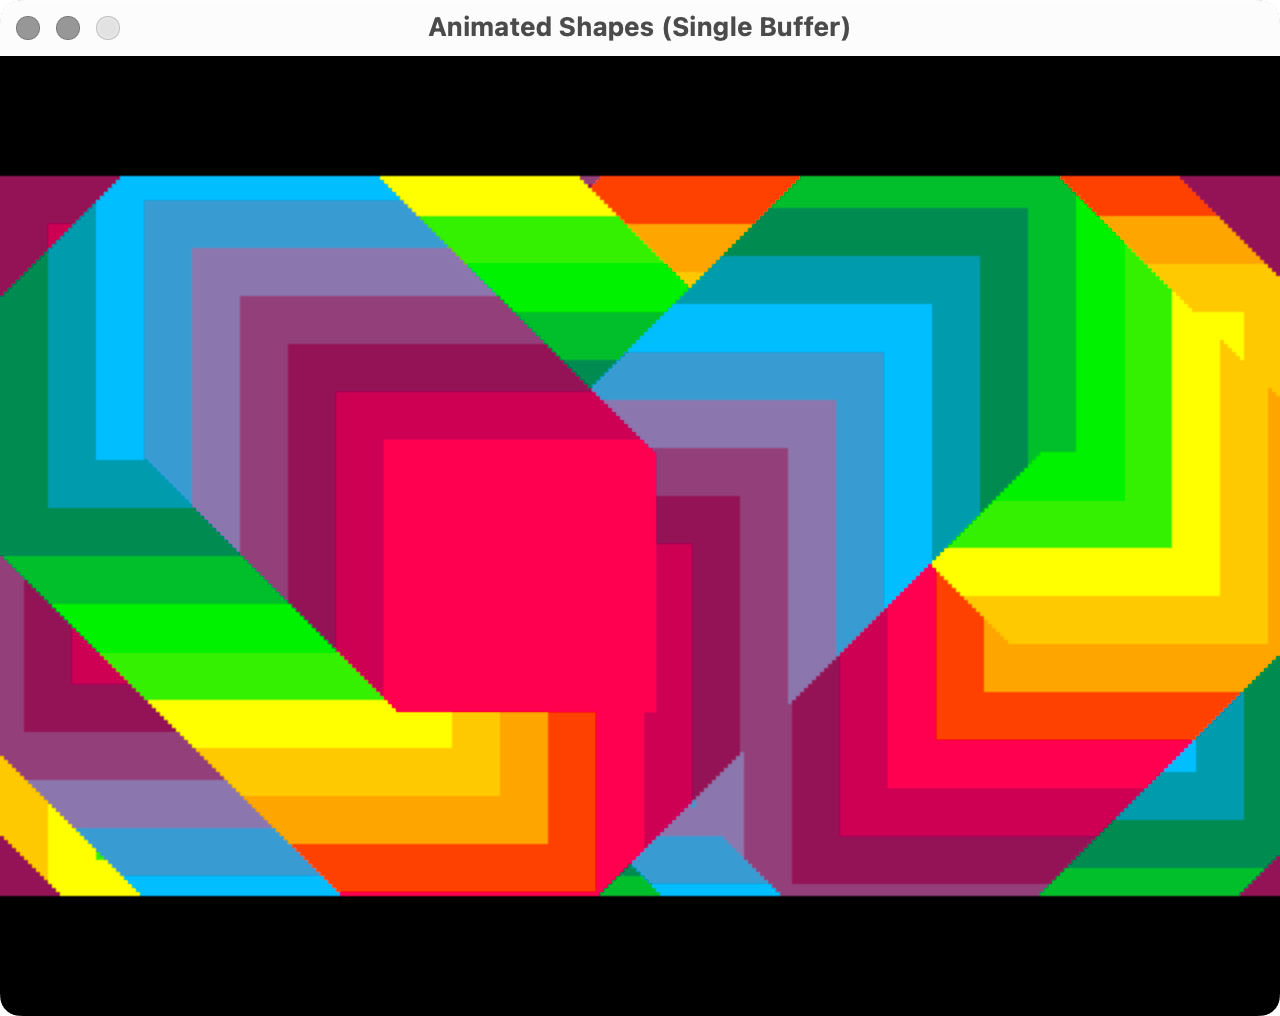
Early on this series, we animated a bouncing square; now we’re going to do it with a framebuffer. We take a filled square and bounce it around the screen, changing its colour every few frames. This design uses a single framebuffer hence the “sb” name.
- iCEBreaker (iCE40): ice40/top_demo_sb.sv
- Arty (XC7): xc7/top_demo_sb.sv
- Nexys Video (XC7): xc7-dvi/top_demo_sb.sv
- Verilator Sim: sim/top_demo_sb.sv
The square rendering module:
- 160x90/render_square_colr.sv (4 colour)
- 320x180/render_square_colr.sv (16 colour)
Building the Designs
In the Animated Shapes section of the git repo, you’ll find the design files, a makefile for iCEBreaker and Verilator, and a Vivado project for Xilinx-based boards. There are also build instructions for boards and simulations.
Our framebuffer remembers all the squares we’ve drawn, so the screen gradually fills with striped colour. While this is a fun effect, it’s not usually what you want.

Clean Movement
There are three approaches we can take to move an object around the screen cleanly:
- Use hardware sprites - suitable for simple 2D graphics
- Use a blitter to cut out and move a framebuffer region - effective for small 2D objects
- Clear the framebuffer and draw from scratch - versatile but requires plenty of bandwidth
For this post, we’ll go with option 3, but more than that, we’ll also introduce double buffering.
Double Buffering
We can’t draw in a framebuffer while the display controller reads it; otherwise, we’ll get tearing. We could limit ourselves to drawing in the vertical blanking interval, but even for 640x480 with its generous blanking, we’d only be able to draw for less than 10% of the time. This is not enough time to do much interesting, especially as we probably want to clear the framebuffer before drawing each frame.
To draw all the time, we can double up our buffers: drawing in one while the display controller reads from the other. That way, we can be drawing all the time and avoid screen tearing. The only downsides are the need for twice the memory, and an extra frame of latency before the new output is visible.
Double-buffer:
- iCEBreaker (iCE40): ice40/top_demo.sv
- Arty (XC7): xc7/top_demo.sv
- Nexys Video (XC7): xc7-dvi/top_demo.sv
- Verilator Sim: sim/top_demo.sv
If you build this demo you’ll see a single square cleanly bounce around the screen.
The Verilator version looks like this:
module top_demo #(parameter CORDW=16) (  // signed coordinate width (bits)
    input  wire logic clk_pix,      // pixel clock
    input  wire logic rst_pix,      // sim reset
    output      logic signed [CORDW-1:0] sdl_sx,  // horizontal SDL position
    output      logic signed [CORDW-1:0] sdl_sy,  // vertical SDL position
    output      logic sdl_de,       // data enable (low in blanking interval)
    output      logic sdl_frame,    // high at start of frame
    output      logic [7:0] sdl_r,  // 8-bit red
    output      logic [7:0] sdl_g,  // 8-bit green
    output      logic [7:0] sdl_b   // 8-bit blue
    );

    // system clock is the same as pixel clock in simulation
    logic clk_sys, rst_sys;
    always_comb begin
        clk_sys = clk_pix;
        rst_sys = rst_pix;
    end

    // display sync signals and coordinates
    logic signed [CORDW-1:0] sx, sy;
    logic de, frame, line;
    display_480p #(.CORDW(CORDW)) display_inst (
        .clk_pix,
        .rst_pix,
        .sx,
        .sy,
        .hsync(),
        .vsync(),
        .de,
        .frame,
        .line
    );

    // library resource path
    localparam LIB_RES = "../../../lib/res";

    // colour parameters
    localparam CHANW = 4;        // colour channel width (bits)
    localparam COLRW = 3*CHANW;  // colour width: three channels (bits)
    localparam CIDXW = 4;        // colour index width (bits)
    localparam BG_COLR = 'h137;  // background colour
    localparam PAL_FILE = {LIB_RES,"/palettes/teleport16_4b.mem"};  // palette file

    // framebuffer (FB)
    localparam FB_WIDTH  = 320;  // framebuffer width in pixels
    localparam FB_HEIGHT = 180;  // framebuffer height in pixels
    localparam FB_SCALE  =   2;  // framebuffer display scale (1-63)
    localparam FB_OFFX   =   0;  // horizontal offset
    localparam FB_OFFY   =  60;  // vertical offset
    localparam FB_PIXELS = FB_WIDTH * FB_HEIGHT;  // total pixels in buffer
    localparam FB_ADDRW  = $clog2(FB_PIXELS);  // address width
    localparam FB_DATAW  = CIDXW;  // colour bits per pixel

    // pixel read and write addresses and colours
    logic [FB_ADDRW-1:0] fb_addr_write, fb_addr_clear, fb_addr_render;
    logic [FB_ADDRW-1:0] fb_addr_read;
    logic [FB_DATAW-1:0] fb_colr_write, fb_colr_clear, fb_colr_render;
    logic [FB_DATAW-1:0] fb_colr_read, fb_colr_read_0, fb_colr_read_1;
    logic fb_we;  // framebuffer write enable

    // buffer selection
    logic fb_front;

    // framebuffer memories
    bram_sdp #(
        .WIDTH(FB_DATAW),
        .DEPTH(FB_PIXELS),
        .INIT_F("")
    ) bram_inst_0 (
        .clk_write(clk_sys),
        .clk_read(clk_sys),
        .we(fb_we && fb_front),
        .addr_write(fb_addr_write),
        .addr_read(fb_addr_read),
        .data_in(fb_colr_write),
        .data_out(fb_colr_read_0)
    );

    bram_sdp #(
        .WIDTH(FB_DATAW),
        .DEPTH(FB_PIXELS),
        .INIT_F("")
    ) bram_inst_1 (
        .clk_write(clk_sys),
        .clk_read(clk_sys),
        .we(fb_we && !fb_front),
        .addr_write(fb_addr_write),
        .addr_read(fb_addr_read),
        .data_in(fb_colr_write),
        .data_out(fb_colr_read_1)
    );

    // display flags in system clock domain
    logic frame_sys, line_sys, line0_sys;
    xd xd_frame (.clk_src(clk_pix), .clk_dst(clk_sys),
        .flag_src(frame), .flag_dst(frame_sys));
    xd xd_line  (.clk_src(clk_pix), .clk_dst(clk_sys),
        .flag_src(line),  .flag_dst(line_sys));
    xd xd_line0 (.clk_src(clk_pix), .clk_dst(clk_sys),
        .flag_src(line && sy==FB_OFFY), .flag_dst(line0_sys));

    //
    // draw in framebuffer
    //

    logic render_start;
    logic render_done;

    // framebuffer state machine
    enum {IDLE, INIT, CLEAR, DRAW, DONE} state;
    always_ff @(posedge clk_sys) begin
        case (state)
            INIT: begin
                state <= CLEAR;
                fb_front <= ~fb_front; // swap buffers
                fb_addr_clear <= 0;
                fb_colr_clear <= 'h0;
            end
            CLEAR: begin
                fb_addr_clear <= fb_addr_clear + 1;
                if (fb_addr_clear == FB_PIXELS-1) begin
                    state <= DRAW;
                    render_start <= 1;
                end
            end
            DRAW: begin
                state <= render_done ? DONE : DRAW;
                render_start <= 0;
            end
            DONE: state <= IDLE;
            default: if (frame_sys) state <= INIT;  // IDLE
        endcase
        if (rst_sys) state <= IDLE;
    end

    always_ff @(posedge clk_sys) begin
        fb_addr_write <= (state == CLEAR) ? fb_addr_clear : fb_addr_render;
        fb_colr_write <= (state == CLEAR) ? fb_colr_clear : fb_colr_render;
    end

    // render shapes
    parameter DRAW_SCALE = 1;  // relative to framebuffer dimensions
    logic drawing;  // actively drawing
    logic clip;  // location is clipped
    logic signed [CORDW-1:0] drx, dry;  // draw coordinates
    render_square_colr #(  // switch module name to change demo
        .CORDW(CORDW),
        .CIDXW(CIDXW),
        .SCALE(DRAW_SCALE)
    ) render_instance (
        .clk(clk_sys),
        .rst(rst_sys),
        .oe(1'b1),
        .start(render_start),
        .x(drx),
        .y(dry),
        .cidx(fb_colr_render),
        .drawing,
        .done(render_done)
    );

    // calculate pixel address in framebuffer (three-cycle latency)
    bitmap_addr #(
        .CORDW(CORDW),
        .ADDRW(FB_ADDRW)
    ) bitmap_addr_instance (
        .clk(clk_sys),
        .bmpw(FB_WIDTH),
        .bmph(FB_HEIGHT),
        .x(drx),
        .y(dry),
        .offx(0),
        .offy(0),
        .addr(fb_addr_render),
        .clip
    );

    // delay write enable to match address calculation
    localparam LAT_ADDR = 3;  // latency (cycles)
    logic [LAT_ADDR-1:0] fb_we_sr;
    always_ff @(posedge clk_sys) begin
        fb_we_sr <= {drawing, fb_we_sr[LAT_ADDR-1:1]};
        if (rst_sys) fb_we_sr <= 0;
        fb_we <= (state == CLEAR) || (fb_we_sr[0] && !clip);  // check for clipping
    end

    //
    // read framebuffer for display output via linebuffer
    //

    // select buffer to read
    always_ff @(posedge clk_sys) fb_colr_read <= fb_front ? fb_colr_read_1 : fb_colr_read_0;

    // count lines for scaling via linebuffer
    logic [$clog2(FB_SCALE):0] cnt_lb_line;
    always_ff @(posedge clk_sys) begin
        if (line0_sys) cnt_lb_line <= 0;
        else if (line_sys) begin
            cnt_lb_line <= (cnt_lb_line == FB_SCALE-1) ? 0 : cnt_lb_line + 1;
        end
    end

    // which screen lines need linebuffer?
    logic lb_line;
    always_ff @(posedge clk_sys) begin
        if (line0_sys) lb_line <= 1;  // enable from sy==0
        if (frame_sys) lb_line <= 0;  // disable at frame start
    end

    // enable linebuffer input
    logic lb_en_in;
    logic [$clog2(FB_WIDTH)-1:0] cnt_lbx;  // horizontal pixel counter
    always_comb lb_en_in = (lb_line && cnt_lb_line == 0 && cnt_lbx < FB_WIDTH);

    // calculate framebuffer read address for linebuffer
    always_ff @(posedge clk_sys) begin
        if (line_sys) begin  // reset horizontal counter at start of line
            cnt_lbx <= 0;
        end else if (lb_en_in) begin  // increment address when LB enabled
            fb_addr_read <= fb_addr_read + 1;
            cnt_lbx <= cnt_lbx + 1;
        end
        if (frame_sys) fb_addr_read <= 0;  // reset address at frame start
    end

    // enable linebuffer output
    logic lb_en_out;
    localparam LAT_LB = 4;  // latency compensation: lb_en_out+1, DB+1, LB+1, CLUT+1
    always_ff @(posedge clk_pix) begin
        lb_en_out <= (sy >= FB_OFFY && sy < (FB_HEIGHT * FB_SCALE) + FB_OFFY
            && sx >= FB_OFFX - LAT_LB && sx < (FB_WIDTH * FB_SCALE) + FB_OFFX - LAT_LB);
    end

    // display linebuffer
    logic [FB_DATAW-1:0] lb_colr_out;
    linebuffer_simple #(
        .DATAW(FB_DATAW),
        .LEN(FB_WIDTH)
    ) linebuffer_instance (
        .clk_sys,
        .clk_pix,
        .line,
        .line_sys,
        .en_in(lb_en_in),
        .en_out(lb_en_out),
        .scale(FB_SCALE),
        .data_in(fb_colr_read),
        .data_out(lb_colr_out)
    );

    // colour lookup table (CLUT)
    logic [COLRW-1:0] fb_pix_colr;
    clut_simple #(
        .COLRW(COLRW),
        .CIDXW(CIDXW),
        .F_PAL(PAL_FILE)
        ) clut_instance (
        .clk_write(clk_pix),
        .clk_read(clk_pix),
        .we(0),
        .cidx_write(0),
        .cidx_read(lb_colr_out),
        .colr_in(0),
        .colr_out(fb_pix_colr)
    );

    // paint screen
    logic paint_area;  // area of screen to paint
    logic [CHANW-1:0] paint_r, paint_g, paint_b;  // colour channels
    always_comb begin
        paint_area = (sy >= FB_OFFY && sy < (FB_HEIGHT * FB_SCALE) + FB_OFFY
            && sx >= FB_OFFX && sx < (FB_WIDTH * FB_SCALE) + FB_OFFX);
        {paint_r, paint_g, paint_b} = paint_area ? fb_pix_colr : BG_COLR;
    end

    // display colour: paint colour but black in blanking interval
    logic [CHANW-1:0] display_r, display_g, display_b;
    always_comb {display_r, display_g, display_b} = (de) ? {paint_r, paint_g, paint_b} : 0;

    // SDL output (8 bits per colour channel)
    always_ff @(posedge clk_pix) begin
        sdl_sx <= sx;
        sdl_sy <= sy;
        sdl_de <= de;
        sdl_frame <= frame;
        sdl_r <= {2{display_r}};
        sdl_g <= {2{display_g}};
        sdl_b <= {2{display_b}};
    end
endmodule
We now have two BRAM instances bram_inst_0 and bram_inst_1 and a finite state machine to handle clearing the buffers.
The front buffer is read into the linebufer for display, while we draw into the back buffer in the same way as previous designs. We select buffers using the fb_front signal.
Shattered Cube
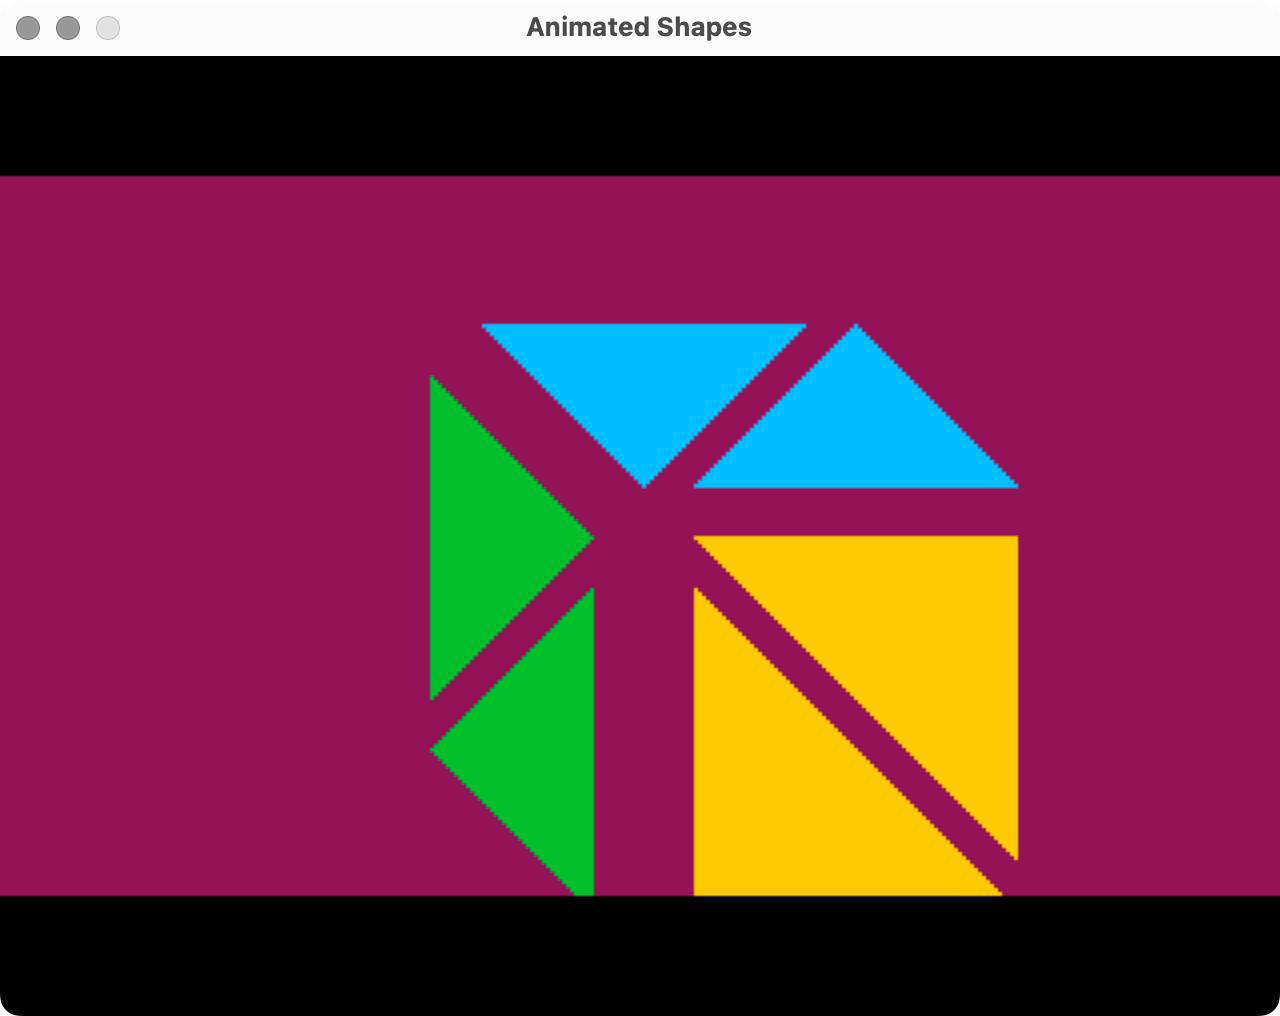
Back when we learnt about filled triangles we built a cube, now we can tear it apart:
Replace replace render_* with render_cube_shatter in your top module and rebuild.

Teleport
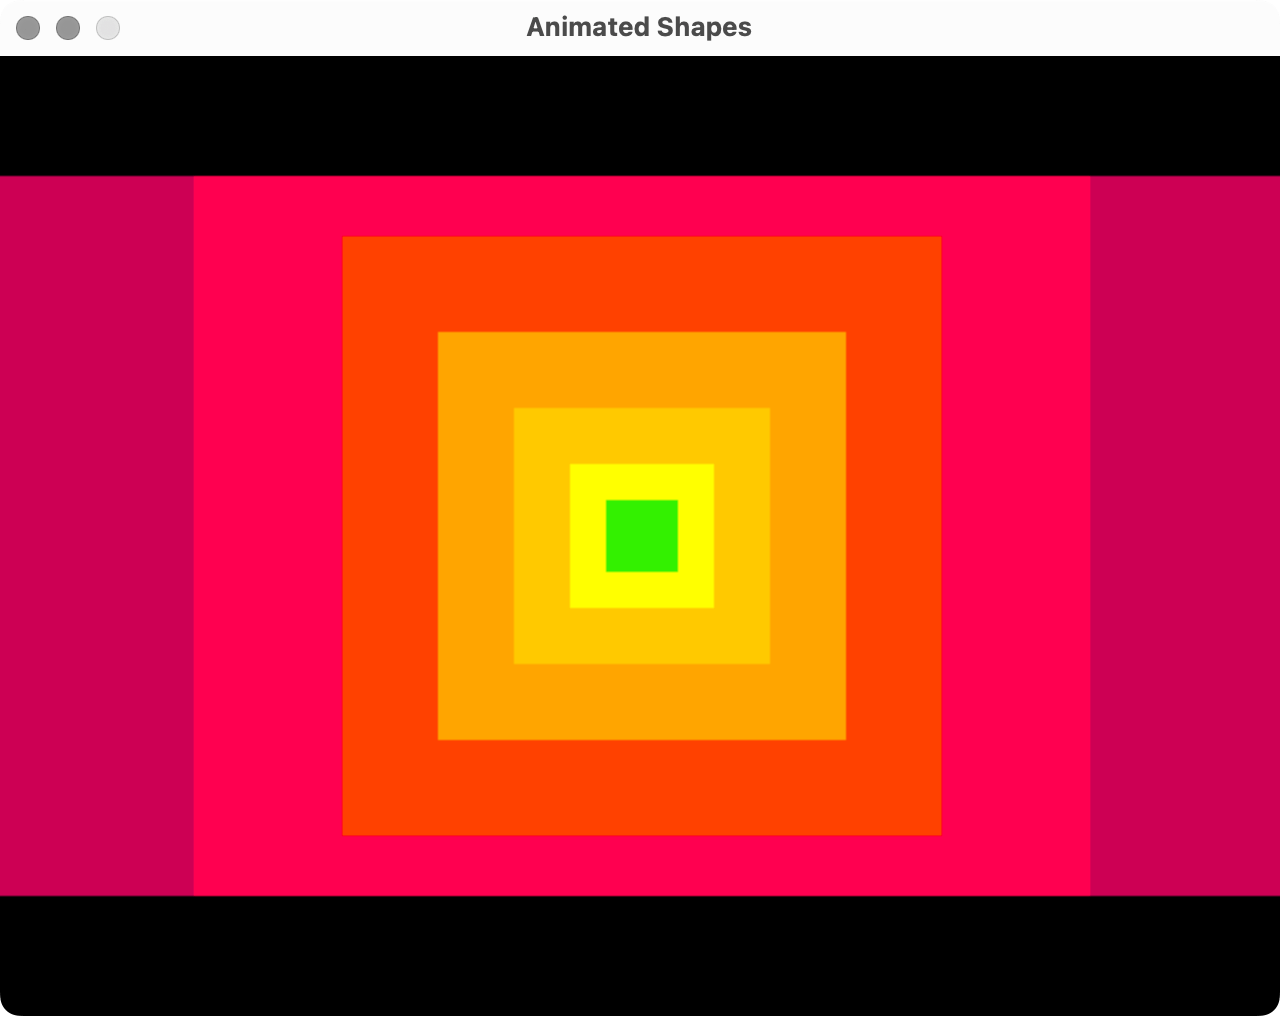
Using our double-buffer and a few animated rectangles we can create a teleport effect:
Replace replace render_* with render_teleport in your top module and rebuild.

Explore
I hope you enjoyed this instalment of Exploring FPGA Graphics, but nothing beats creating your own designs. The double-buffered Sine Scroller Demo could be a useful starting point.